

Order application tutorial
Build a small order application: a salesperson selects a customer and creates an order, a supervisor decides after submission, and the applicant receives an in-app notification. Connect data, pages, permissions, and background processing, then build and run production mode.
About this tutorial
If you have not run an application yet, complete Get started. For help describing requirements and checking AI Agent output, read Work with an AI Agent alongside this tutorial.
The business problem
The team needs one place to manage customer orders. Salespeople create and submit them; a supervisor decides whether they are approved. Applicants can check the status and notification instead of repeatedly asking for updates.
An order moves from Draft to Pending approval, then to Approved or Rejected. A rejected order can be submitted again. Each decision has one notification; dispatching the same result again does not create another message.
Preview the data model
Create two business tables. Use the application's existing capabilities for accounts, permissions, workflows, and notifications rather than designing replacement business tables for them.
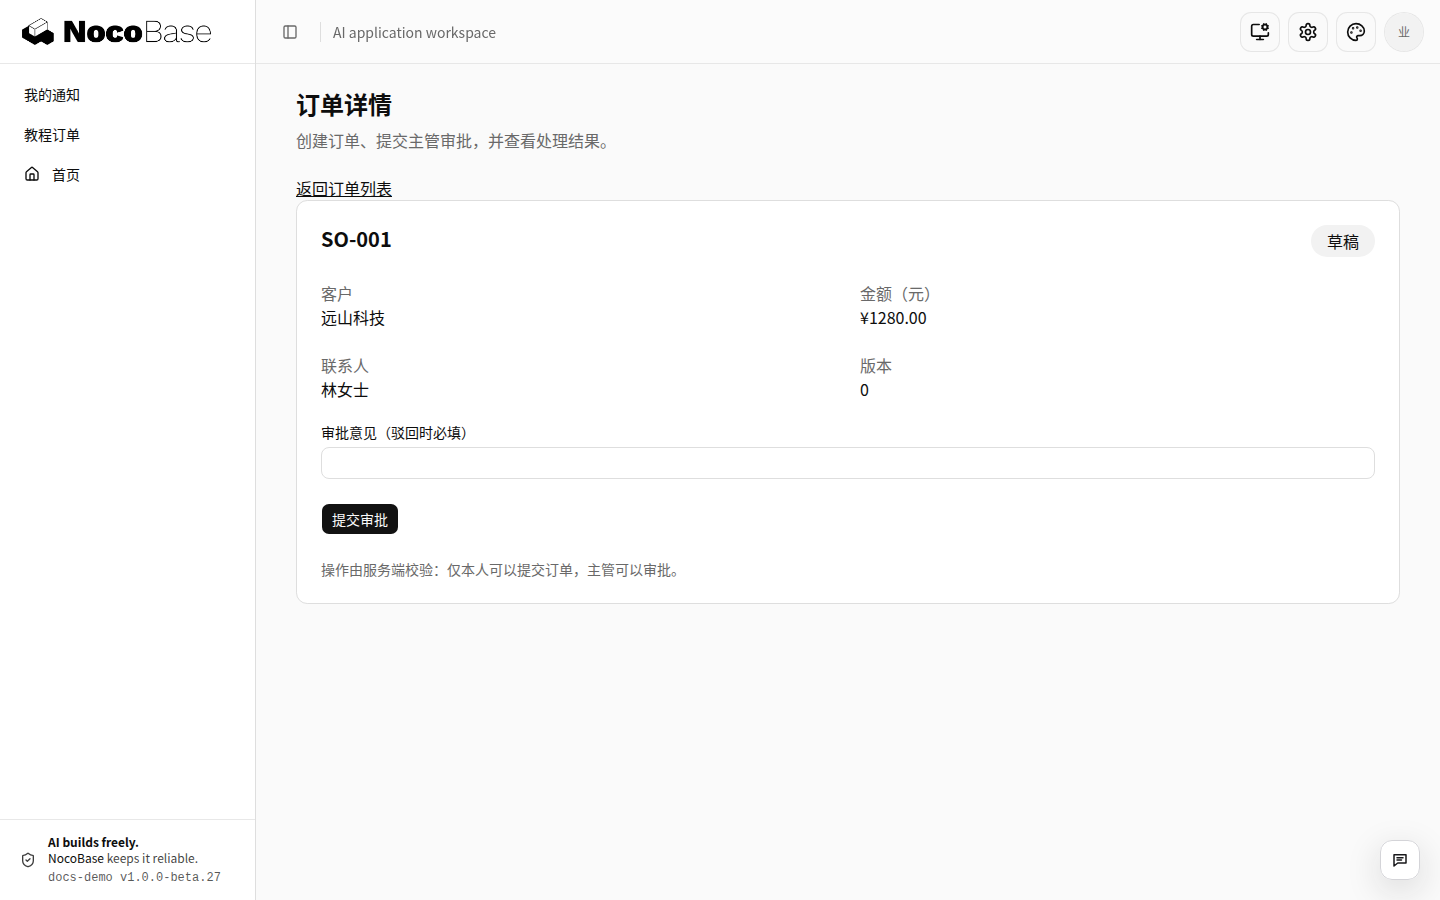
For example, “远山科技” is a customer and SO-001 is one of its orders. Read the customer name from the customer record; keep the amount and status on the order. Chapter 1 explains field types, relationships, and storage rules.
The six chapters
Before you start
Follow Create an application, install dependencies, and sign in. You need Node.js 24 or later, the project's pnpm version, and an AI Agent with source and terminal access. This tutorial uses SQLite. Run commands in the application root.
Open the printed URL. Business route paths are relative to the application; do not hard-code its default /main mount path.
This tutorial uses separate table names and /tutorial-orders, independent of the first feature generated during the quick start. Follow this data model even if you completed that feature, preserving existing tables and records.
How to follow along
Understand each chapter's goal and rules before giving its prompt to your AI Agent. Use the generated pages yourself and check the data and permissions. Layouts can differ; the required behavior should match.
Follow the chapters in order because each builds on the previous result. Prepare three ordinary test accounts and assign their roles in the permissions chapter. Do not judge ordinary user access solely through an administrator session.
Keep the code and check results after each chapter. When pausing, record where you stopped. Resume in the same project without recreating the application or resetting its database.
Common questions
Can I follow without programming experience?
Your AI Agent can write the code, but you need to start the project, describe rules, and check behavior. Ask it to explain unfamiliar fields or files in relation to the business task before changing them.
Do I need an AI employee configured inside the application?
No. This tutorial uses an AI Agent in the project directory. An in-app AI employee is not a prerequisite.
Is the result a complete order product?
The case covers submission, supervisor decisions, and in-app notifications. Product line items, stock, payments, multi-stage approval, and full decision history need further design for your business.
Start with orders and customers.