

Create with an AI Agent
Ask your AI Agent to check the environment, create a project, and start it locally.
Create the application
-
Start an AI Agent session
Start a new session with an empty application directory as its working directory:
- CLI: create an empty directory, enter it in your terminal, then launch your AI Agent and start a new session
- Desktop client: create an empty directory, add it as a project or workspace, then create a new session within it
Directory naming requirementsThe directory name becomes the application's default name. It must start with a lowercase English letter or digit and contain only lowercase English letters, digits, dots (
.), hyphens (-), or underscores (_). Chinese characters, spaces, and uppercase letters are not allowed. Suggested names includemy-app,crm-demo, andorder-system. -
Create the application
Copy and send this prompt in the session you just started:
Your AI Agent will check the environment, initialize the application in the current empty directory, read its project guidance, confirm your database requirements, and start the service.
After startup, open the URL provided by your AI Agent.
NoteAfter the application starts, start a new session before you continue development.
Creating the application synchronizes the development Skills into
.agents/skills/in the project directory. AI Agents load Skills when a session starts; a session that began before this directory existed does not have them, so later development works without this project guidance.
Sign in
The browser opens the sign-in page:
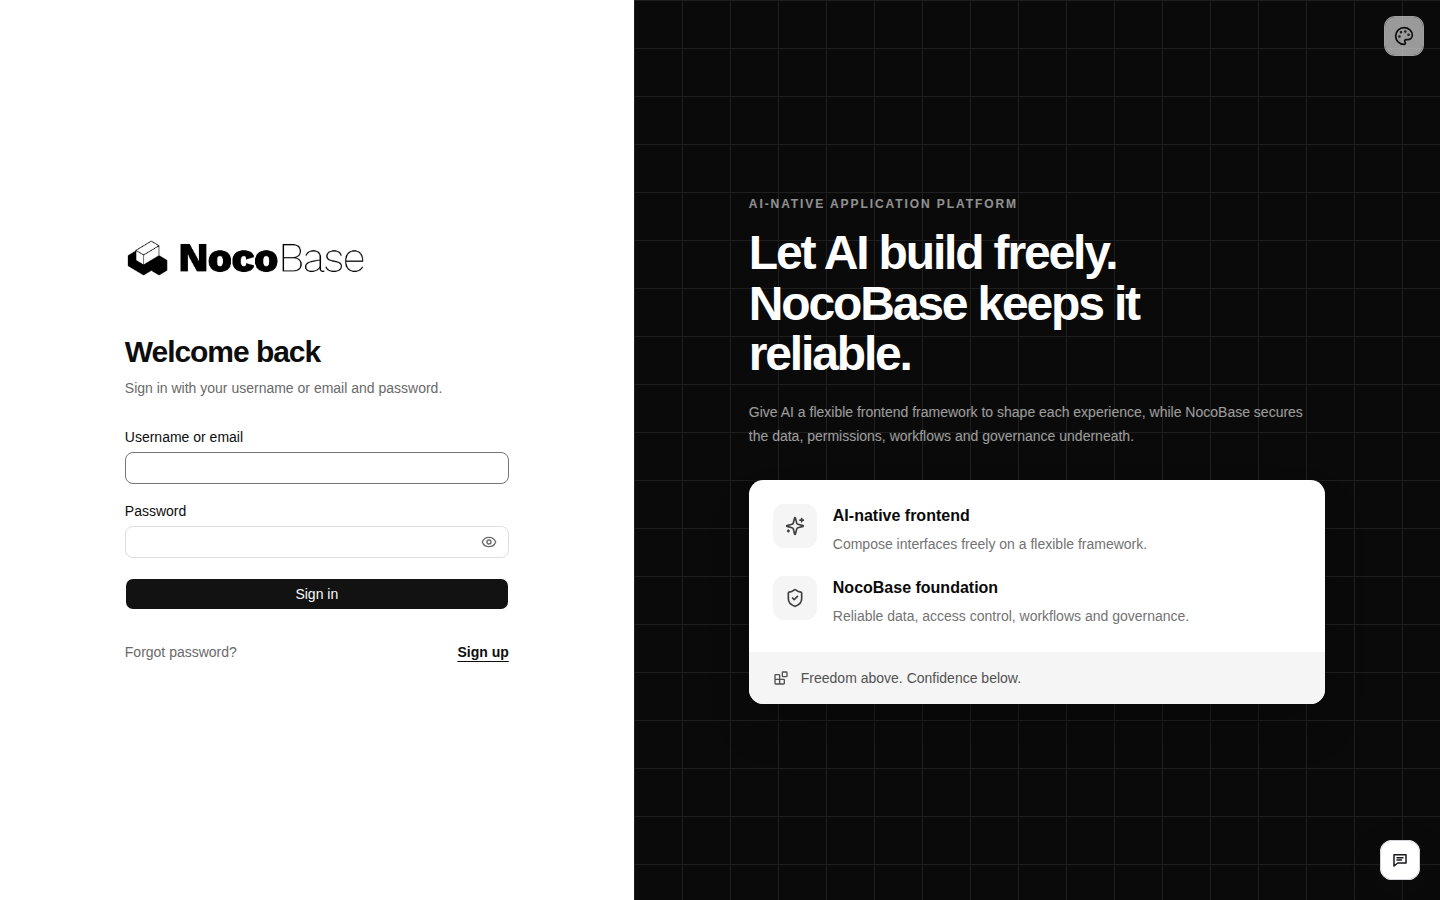
Your AI Agent should provide the URL and sign-in instructions after startup. When using the template’s initial administrator, the credentials are:
Use this account for the first local walkthrough. Change the initial password and configure production access before exposing the application. If you configured your own administrator during installation or connected an existing database, use those credentials.
After signing in, you see the application home page. Use “Language” in the account menu at the top right to switch languages.
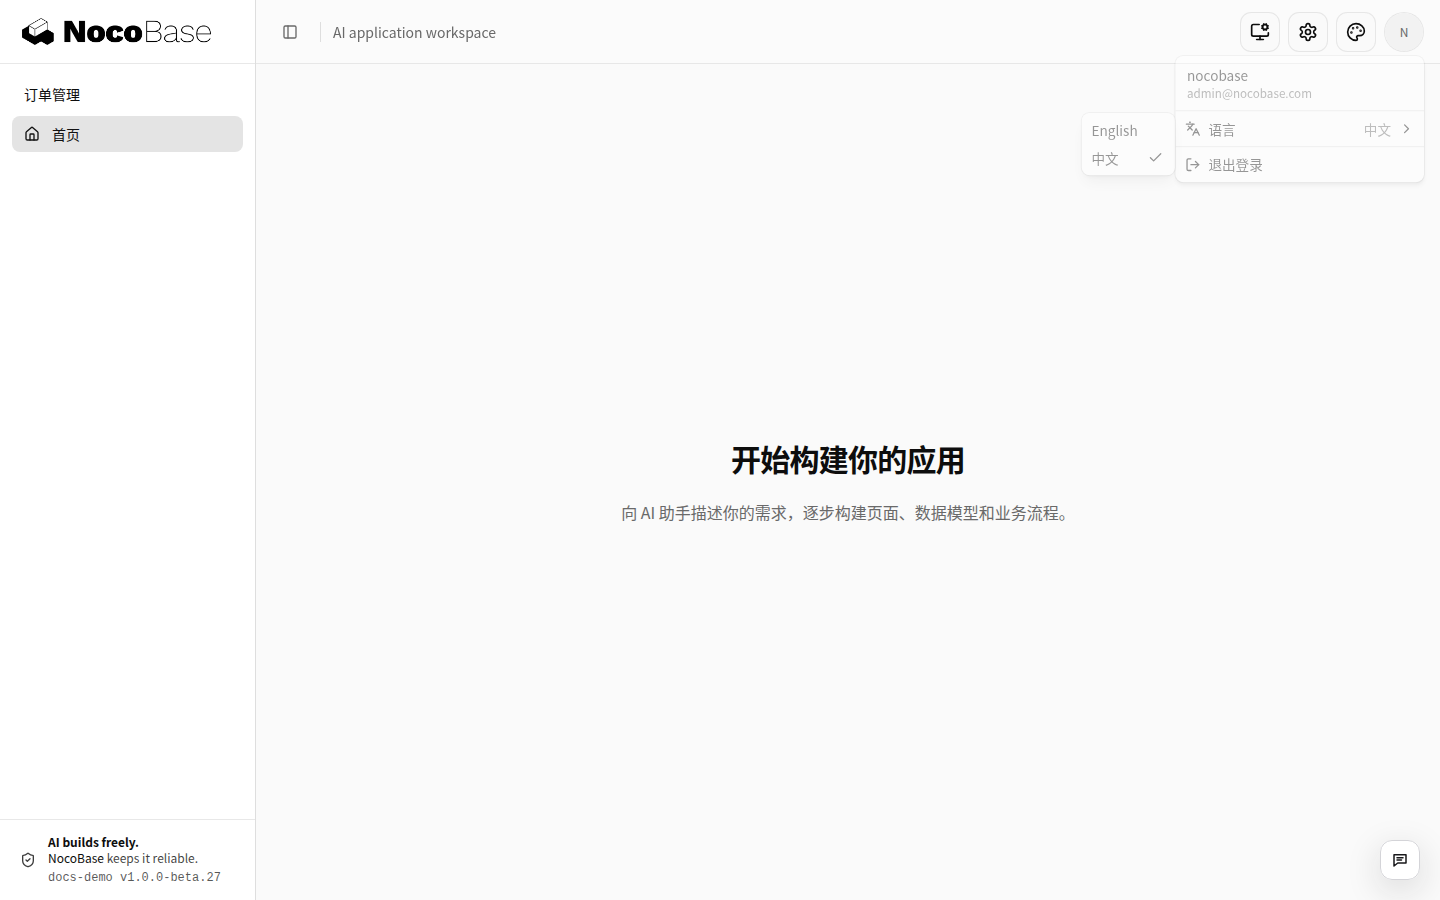
The order menu shown here is added on the next page. A newly created application does not have it yet.
Stop and restart
Ask your AI Agent to stop the development service. Next time, start a session in the same application directory and ask it to start the existing application. If you manage the terminal yourself, press Ctrl+C to stop and run pnpm dev from the application directory to restart. Do not recreate the project.
Use pnpm dev during development. pnpm build followed by pnpm start runs a built application; keep development mode for this walkthrough.
Next step
Start a new session rooted in your application directory and build your first feature. The AI Agent's installation, account, and model access must be prepared separately.
Next, hand the project to your AI Agent and let it start building. To build a CRM application, for example, tell it:
Describe the business goal, the roles involved, and any existing tables or processes; the AI Agent turns that into pages, data models, and flows.