

2. Build list and detail pages
Connect the tables to pages so you can select a customer, create an order, and open its detail URL.
Goal and starting point
Confirm that the previous chapter's tables and customer data exist. Finish this chapter by opening the list from the menu, creating an order, visiting its detail URL, and refreshing to check persistence.
How pages and APIs fit together
The list lets you compare orders; a detail page focuses on one. Its URL contains the order ID, so you can bookmark it or open it from an approval notification later.
The form shows customer names but sends a customer ID when saving. The server must check that this customer exists; a dropdown is not a replacement for server validation.
Distinguish an empty list from a failed request. An empty list allows creation; a failure needs a useful access or API error. Preserve input after a failed save so the user does not have to re-enter everything.
Ask your AI Agent to add pages and APIs
Use the administrator to check the initial wiring, then configure ordinary users in the next chapter. If the administrator lacks a required grant, register and configure the resource; do not remove the server's permission checks.
Create an order
Enter these values in the form:
Create the order. Its status should be Draft. Open its number and check the detail fields.
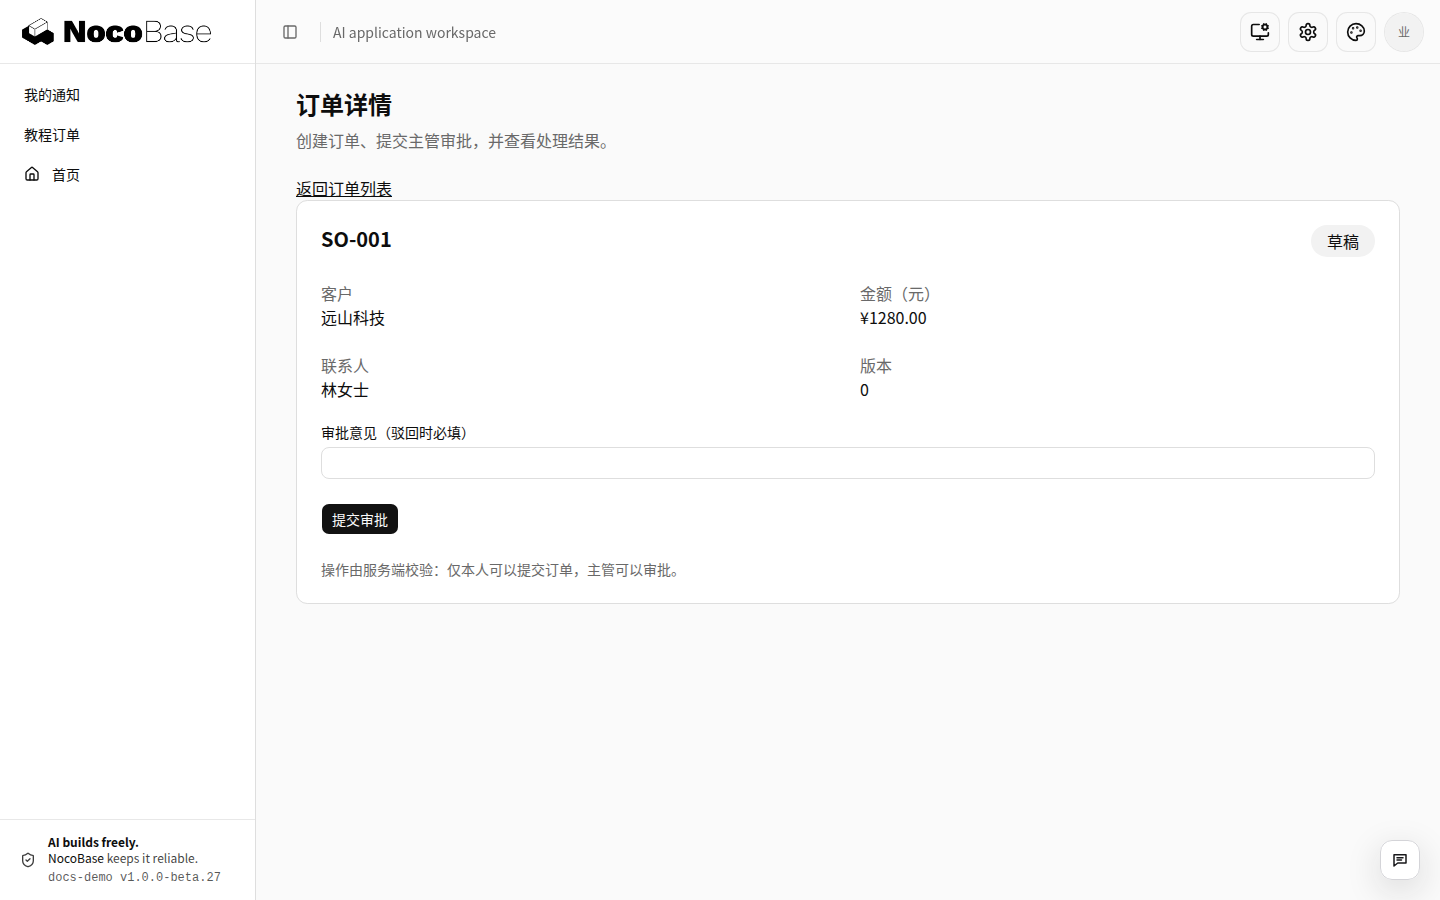
Add the Submit for approval action in the approval chapter.
Check persistence and routing
- Refresh the detail URL and verify that the same order opens.
- Return to the list and check that the record remains.
- Try creating another
SO-001; the duplicate must be rejected. - Try a negative amount; both the form and a direct API request must reject it.
- Open a nonexistent detail ID; do not continue displaying the previous order.
Ask the AI Agent to verify that the database stores amountCents: 128000, rather than relying on the formatted screen value.
Next: Add permissions.