

Create an application manually
You can create and start the application directly in your terminal. To delegate these steps, see Create with an AI Agent. Choose either approach.
Check your environment
Install Node.js 24 and pnpm 11, then check that both are available:
After generation, use the pnpm version specified by the project's package.json. The commands below run in a Linux or WSL terminal; Windows users can follow this walkthrough in WSL.
Create the project
For manual creation, run the command from the application directory’s parent. This example uses an empty directory named my-app:
my-app is the target directory name and becomes the application's default name. The name must start with a lowercase English letter or digit and contain only lowercase English letters, digits, dots (.), hyphens (-), or underscores (_). Chinese characters, spaces, and uppercase letters are not allowed. Suggested names include my-app, crm-demo, and order-system. The target can be absent or an existing empty directory.
The command downloads the template, generates the project and configuration, installs dependencies, and synchronizes plugin development guidance. Wait for completion before continuing.
The first command configures the internal registry for @nocobase packages. The second sets minimumReleaseAge to 0 for this creation process so it can download newly published versions.
Once the package is officially published to the public npm registry, the creation command will simply be:
Creation stops at a project that is ready to configure. It writes no config.yml; the next step does.
Configure the application
This writes config.yml from config.example.yml, keeping its comments, and fills in the authentication and session secrets. It contains application configuration and secrets, so keep it local and out of version control.
It uses SQLite, which the templates already depend on and which needs no server. To use another database, install its driver first and name it when configuring:
pnpm nocobase config init installs nothing: a dialect whose driver is missing is reported with the command that installs it, and nothing is written, so you can simply run it again afterwards. For anything other than SQLite it asks for the connection settings when run in a terminal, and tries the connection before writing. You can also set them afterwards — the password read from an environment variable, so it stays out of your shell history:
Check the configuration
This loads the configuration the way the application will, connects to the database unless it is SQLite, and reports anything that would stop the application from starting — a missing driver, a missing secret, a database it cannot reach — with the command that fixes it.
Start the application
Leave the terminal running and open its printed Local URL. For example, http://127.0.0.1:13000/main/. If a port is occupied, the address can change; use your own terminal output.
Sign in
The browser opens the sign-in page:
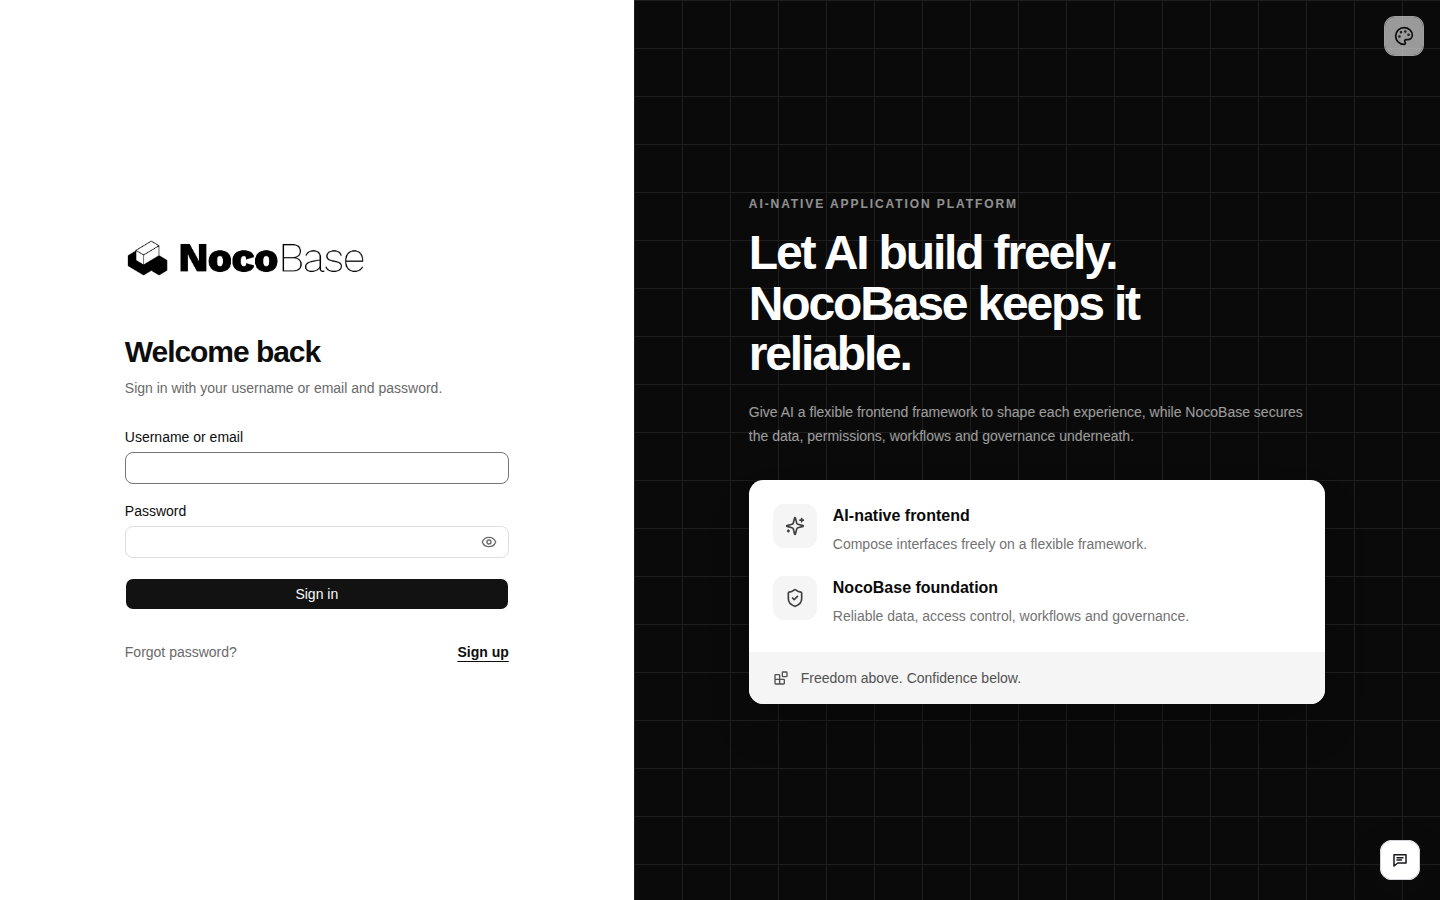
When using the template’s initial administrator, the credentials are:
Use this account for the first local walkthrough. Change the initial password and configure production access before exposing the application. If you configured your own administrator during installation or connected an existing database, use those credentials.
After signing in, you see the application home page. Use “Language” in the account menu at the top right to switch languages.
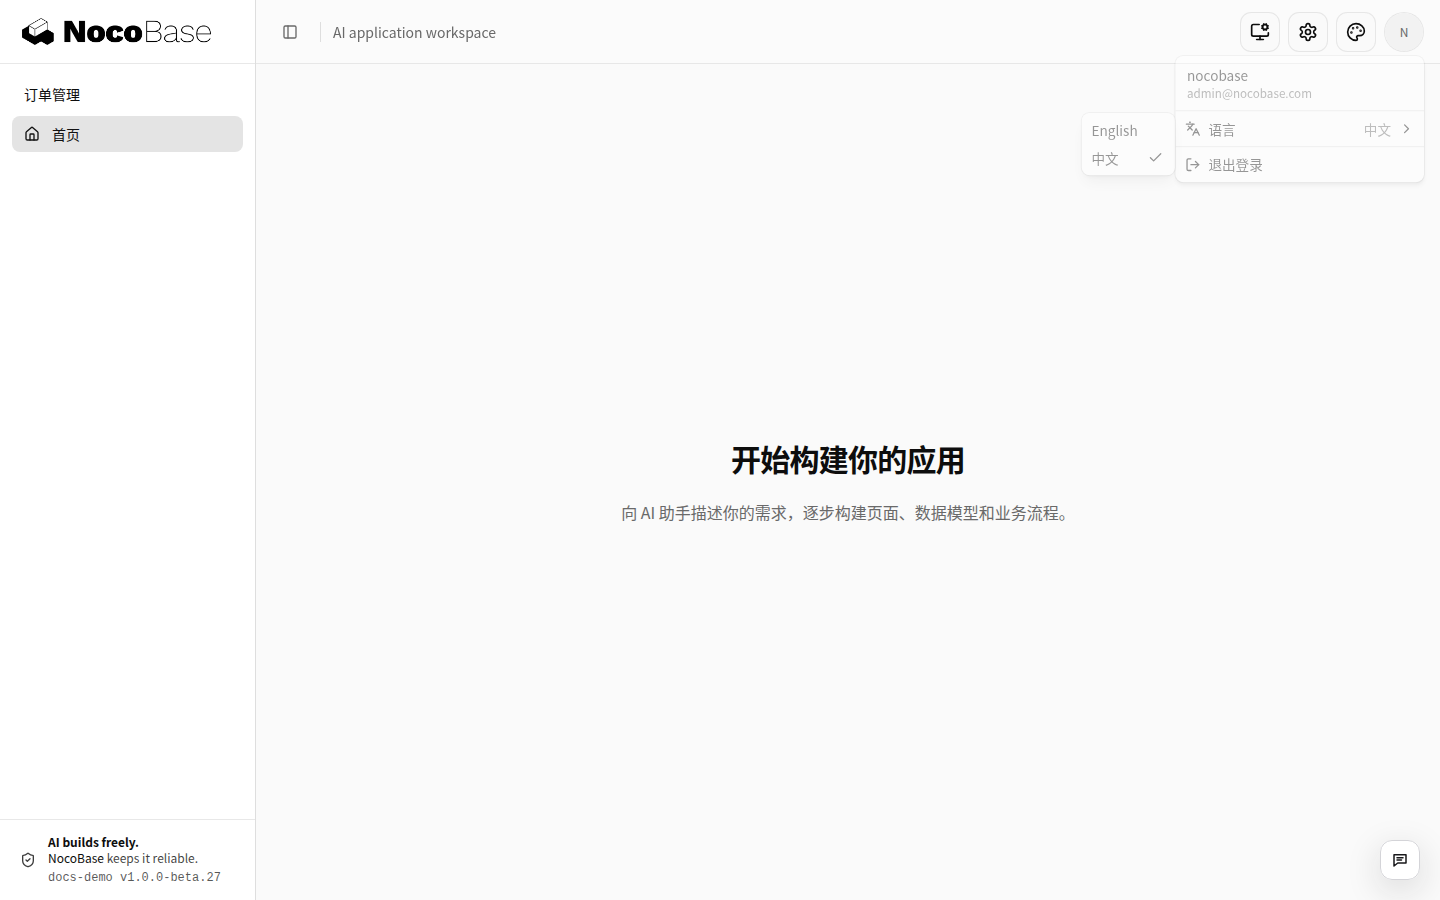
The order menu shown here is added on the next page. A newly created application does not have it yet.
Stop and restart
Press Ctrl+C in the running terminal to stop. Next time, enter the same application directory and run pnpm dev again. You do not need to recreate the project or its database.
Use pnpm dev during development. pnpm build followed by pnpm start runs a built application; keep development mode for this walkthrough.
Troubleshooting
- The directory already exists: choose another name or continue inside the existing project. Do not delete an existing application just to retry.
- Dependency installation did not finish: inspect the terminal error. If the project was generated, fix the issue inside it, rerun
pnpm install, then runpnpm nocobase skills sync. - The URL does not open: check that the terminal is still running and use its printed address. A browser on another machine requires appropriate port access.
- Type checking reports two versions of the same package: check the dependency tree for multiple versions of the package. Run
pnpm dedupeto merge compatible duplicate dependencies, then run type checking again.
Next step
Start an AI Agent session in the generated application directory, ask it to read AGENTS.md and the relevant development guidance, then build your first feature.